xecute the following steps.
1. Read the document "Nvidia CUDA C getting started guide for Microsoft
Windows".
2. Install Cuda drivers, Cuda toolkit and GPU computing SDK. After installing
these it is initially difficult to find location of the files. The location of
Cuda toolkit may be established by executing "echo %CUDA_PATH%" in the command
prompt.

The location of SDK may be established starting regedit and search the
registry for "NVIDIA GPU Computing SDK".
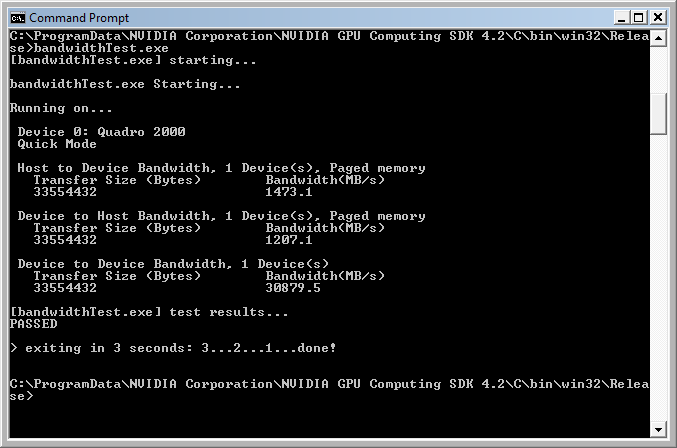
3. Navigate to SDK directory, C\bin\win32\Release and run bandwidthTest.exe.
Such test establishes that the graphic card is operational and the drivers are
correctly installed.

5. Copy the *.rules files from
$(CUDA_PATH)\extras\visual_studio_integration\rules to VC\VCProjectDefaults
directory of MS Visual Studio installation. Such installation should be in
"Program Files" directory by default. Alternatively, it may be found by
regedit search or by examining contents of os.environ variable in python
prompt.
If this step is skipped then the MS Visual Studio IDE will generate an error
message when loading an "*.sln" file on the next step. The error message will
be about missing "*.rules" file.
6. Load a vectorAdd_vs*.sln file from SDK directory, C\src\vectorAdd. Build
the project. There probably will be multiple error messages depending on
existing IDE configuration. A seasoned C++ programmer should not be scared.
When you are done fixing errors then you will be ready to program with CUDA.
7. For debugging into the device code one needs Nvidia Nsight Visual Studio
Edition. Note that is requires SP1 (for Visual Studio) as a prerequisite.
Download it from Nvidia website and follow instructions in the User Guide. To
enable attachment of debugger to a running process, change the setting in
"Nsight Monitor" visible in the Windows status bar on the right. If it is not
visible then start it. Right click on it, go to Options, Cuda, "Use this
monitor to attach". Nsight Monitor seems to forget this setting after a
restart.
|